
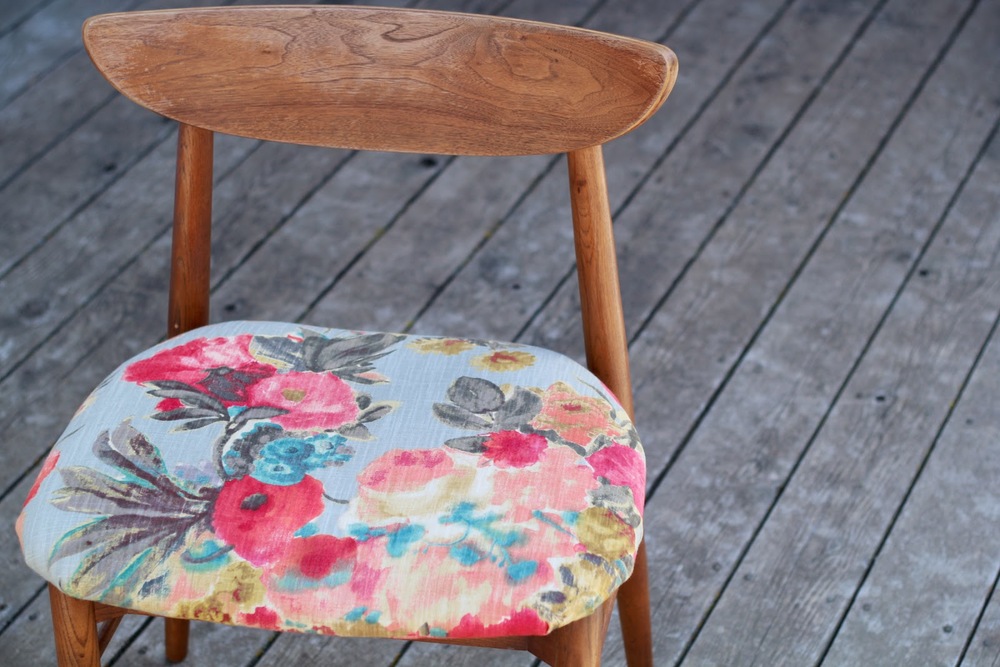
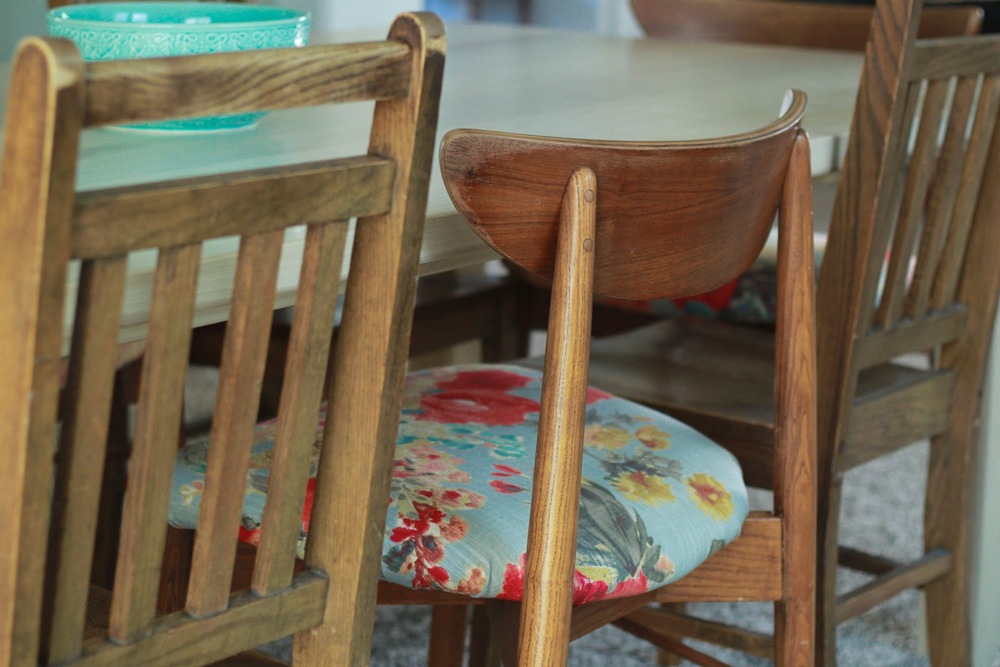
Remember this awesome score? Four Danish Mid-Century Modern chairs for $200!
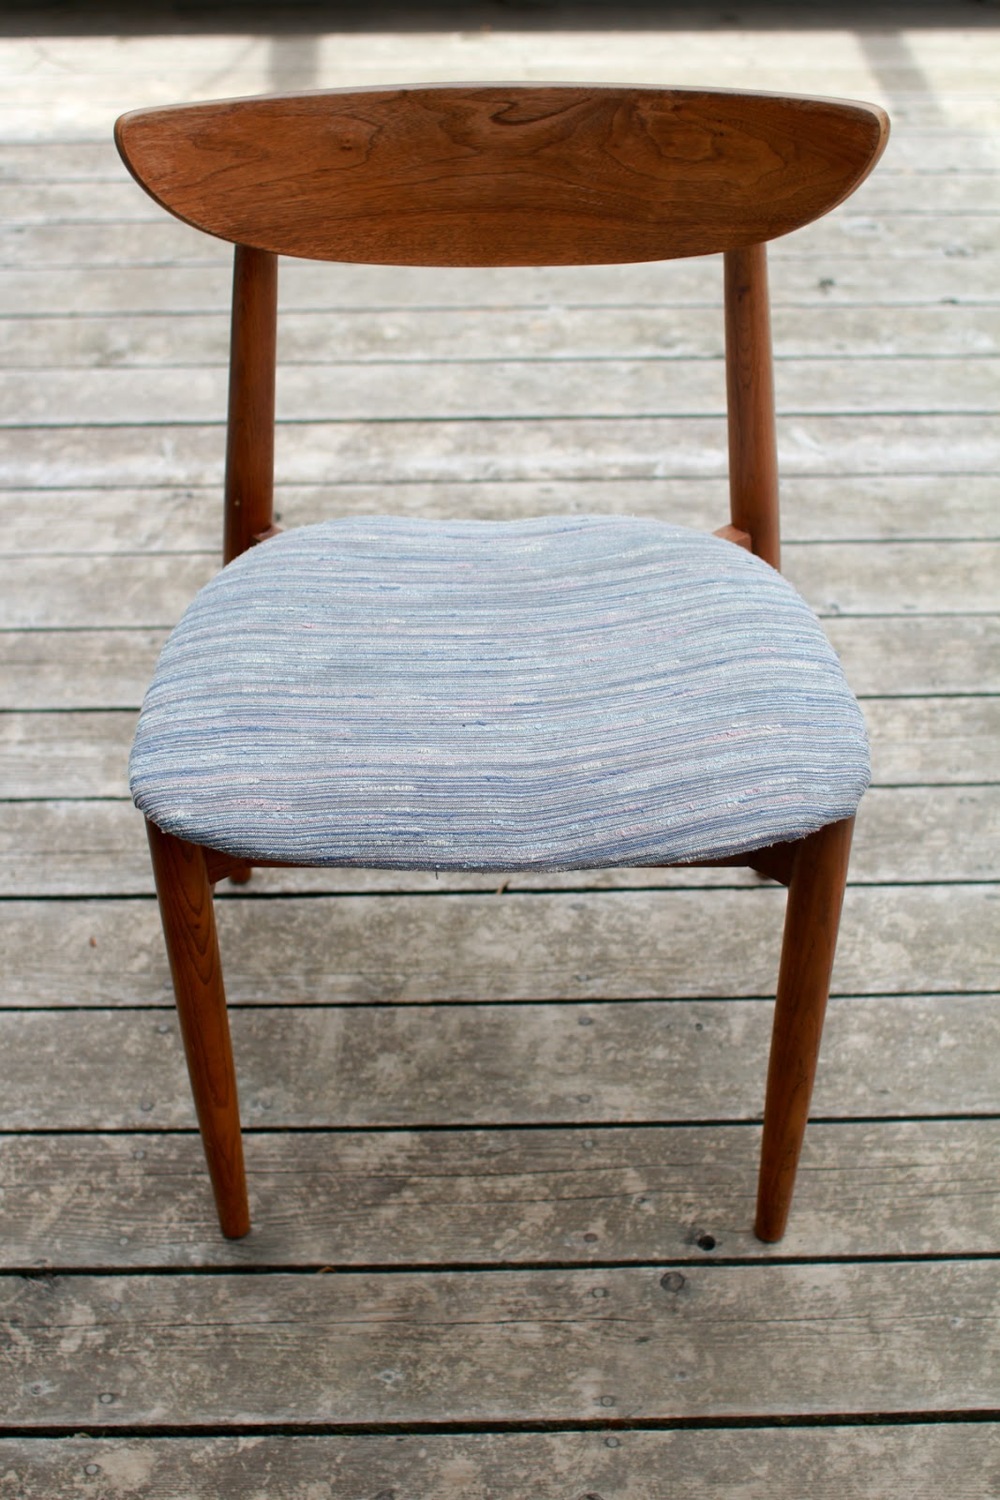

I've been wanting to re-upholster them all year and finally saved up enough for the fabric and materials.
I wanted something with a neutral background but with pops of color to liven up the space since our walls are grey. I found this Home Decor Fabric at Joann's and got 1.5 yards (on sale for $28.50). I needed the heavy duty stuff since these will get a lot of wear - tushies and spills are inevitable in a dining room! When I spotted this one, I fell in love. The watercolor/impressionistic style and pops of poppy, turquoise, and mustard were perfect. (It must be said, however, that upon seeing the prized pattern, Mr. Hall's only remark was "it looks like you stole a mumu from an old lady." Yeesh.)

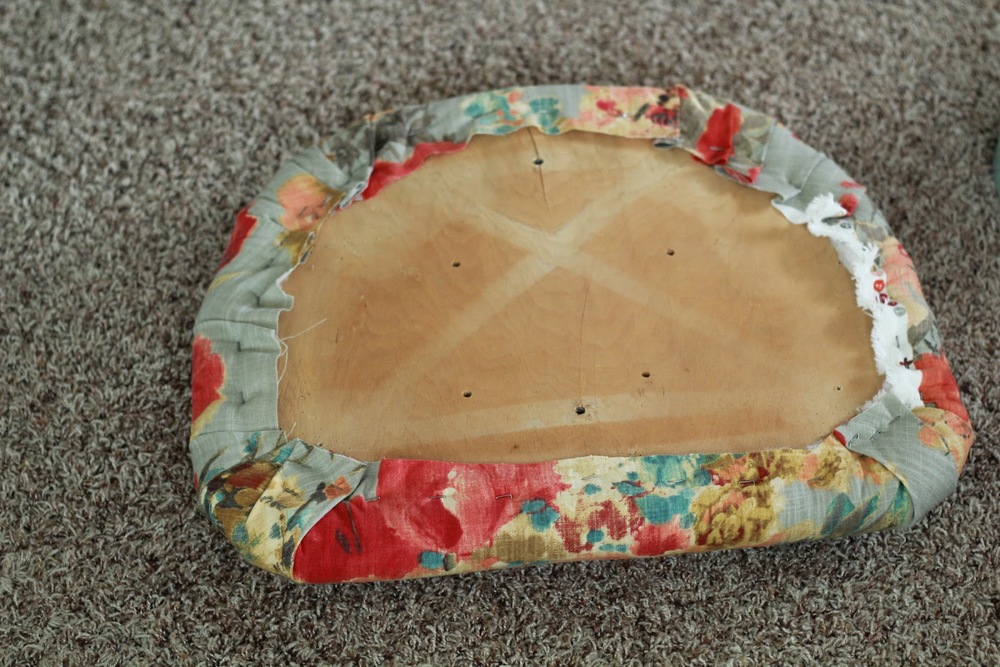
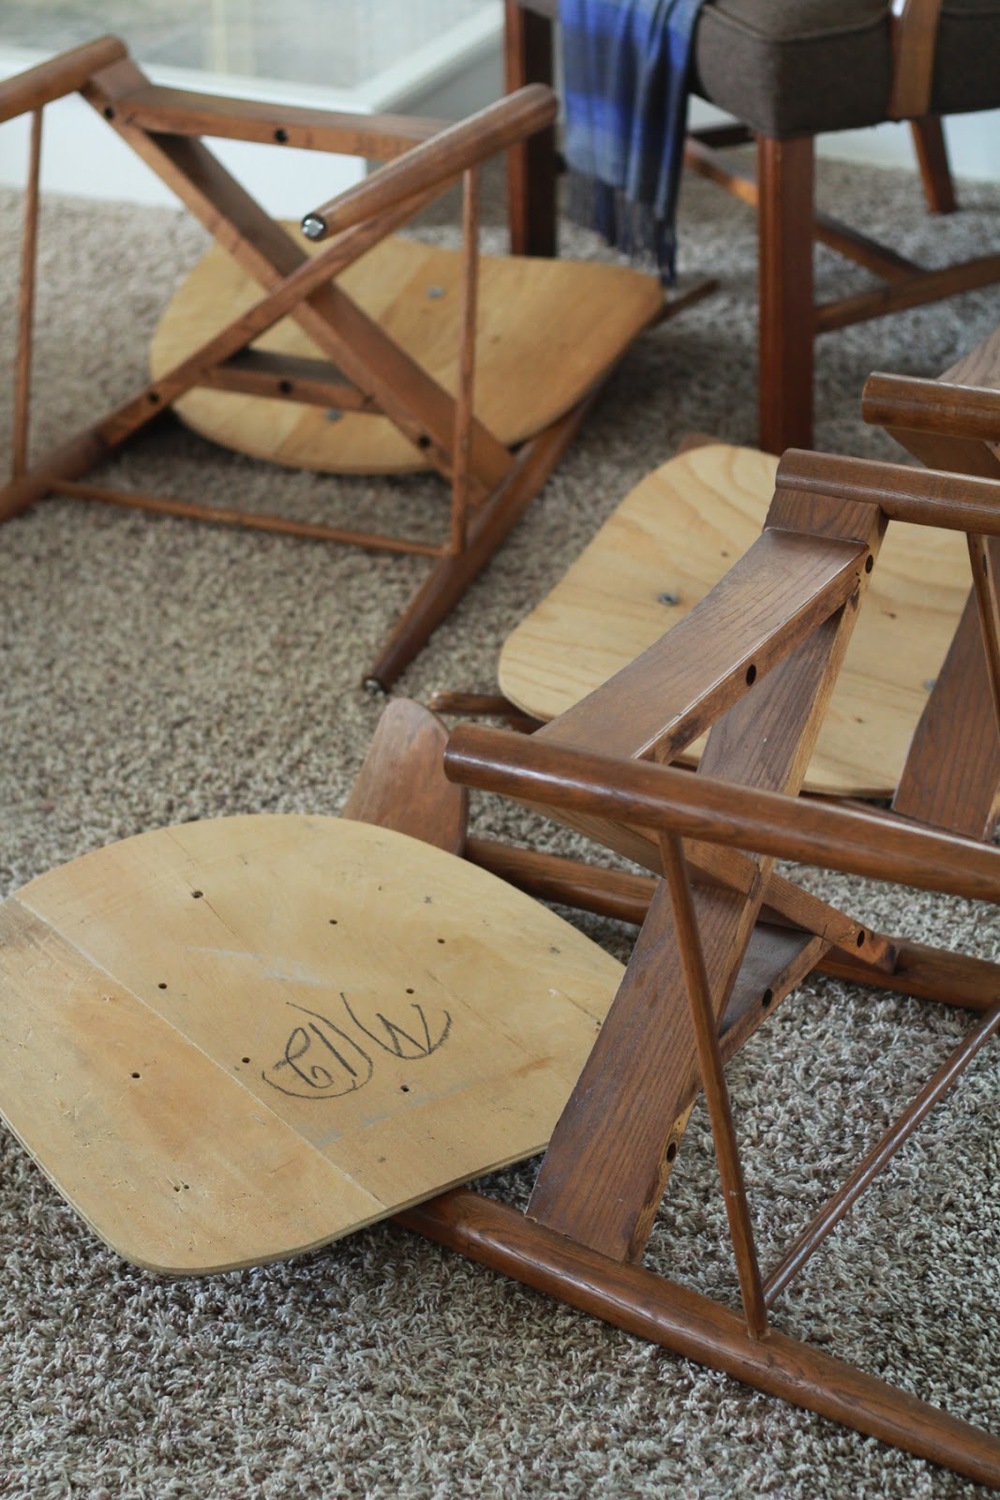
The longest part of the job was dismantling the four seats.
Tools you will need: flat head screwdriver, pliers, hammer, electric staple gun, staples, scissors


Had to use the screwdriver to leverage some room between the seat and staple and then pulled it out with the pliers. It took
ages
to do all of them. Especially because there was an extra, even uglier layer to remove. Oi ve.


Ew! Nasty! I can't believe we were sitting on this the whole time.
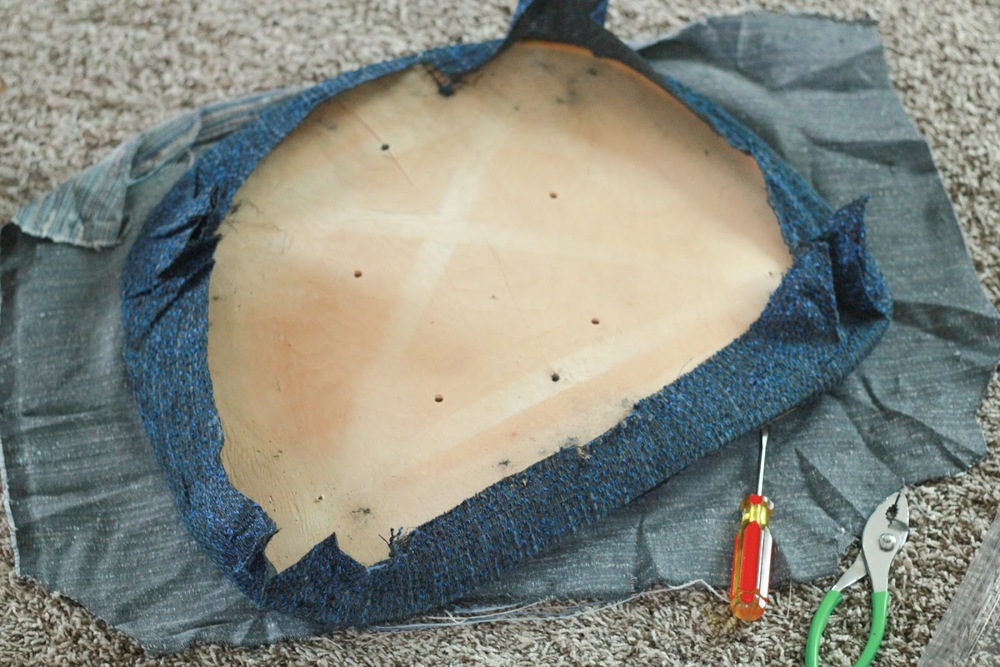
Dry rot, holes, and 50 years worth of dust and dirt were
gone.
Always start from scratch - it's the only way to go to know you've got good padding and not a bunch of secret grime under your bottom.
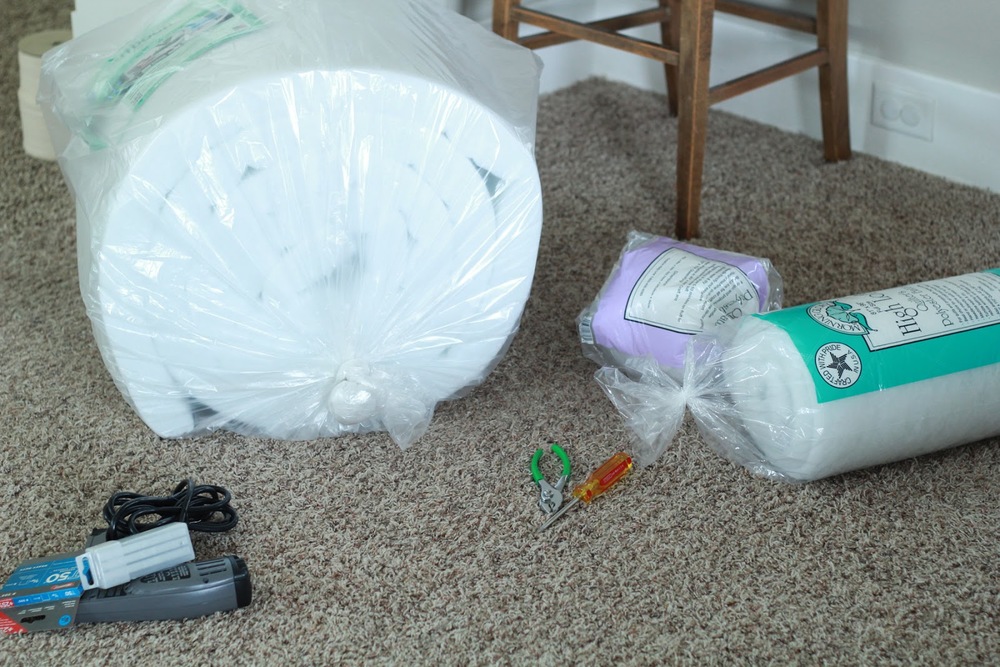
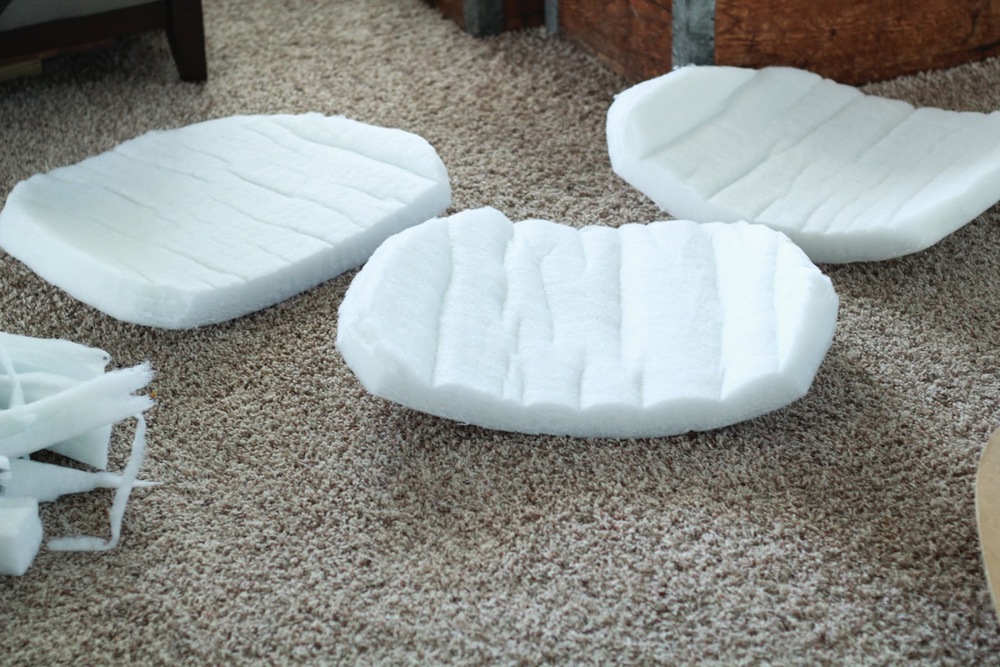
Next came the cutting. Oh, the cutting. I have blisters on the palm beneath my thumb joint from cutting through layers of thick foam. Eventually I learned to cut half the depth and then make another pass to go all the way through.
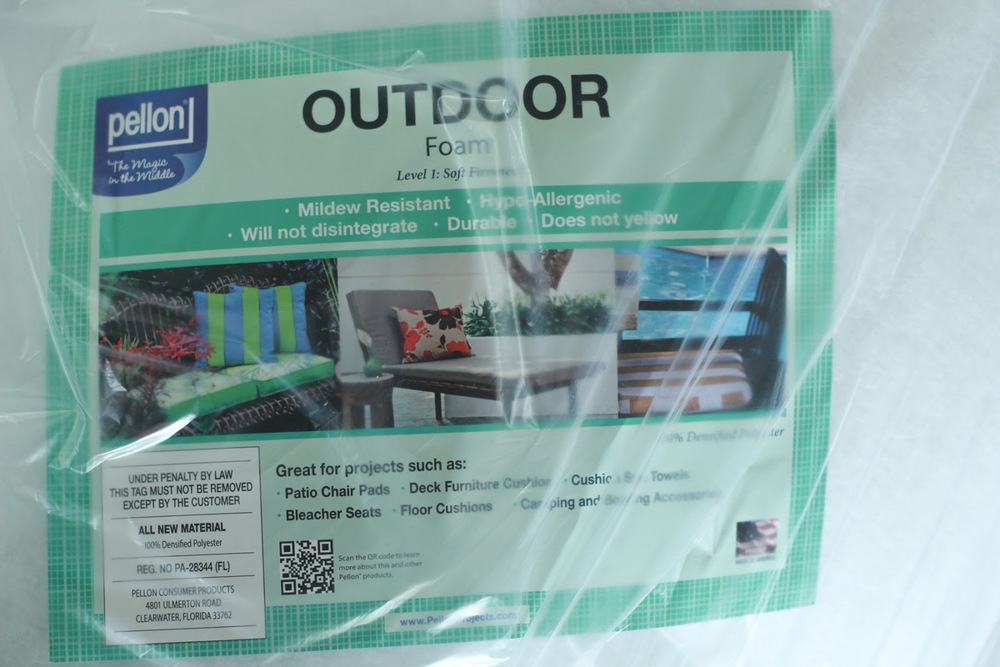
For this I chose
. It's mildew resistant, won't disintegrate, and is durable - all good things for dining room chairs. After researching all of my foam options, this was the best and most economical at $28 for a 5 yard roll. Most of its counterparts were the same price for 2 feet. !!! Five yards might be overkill, but I'll use it - I've always got something I want to re-upholster so it won't go to waste. It is 2 inches thick and the perfect loft for a good cushion.

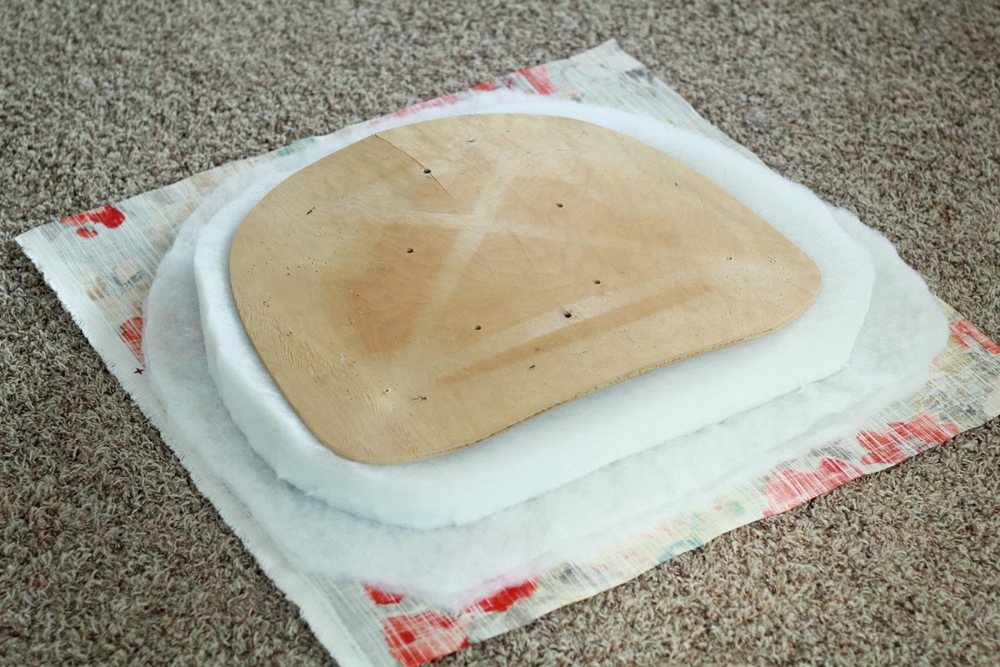
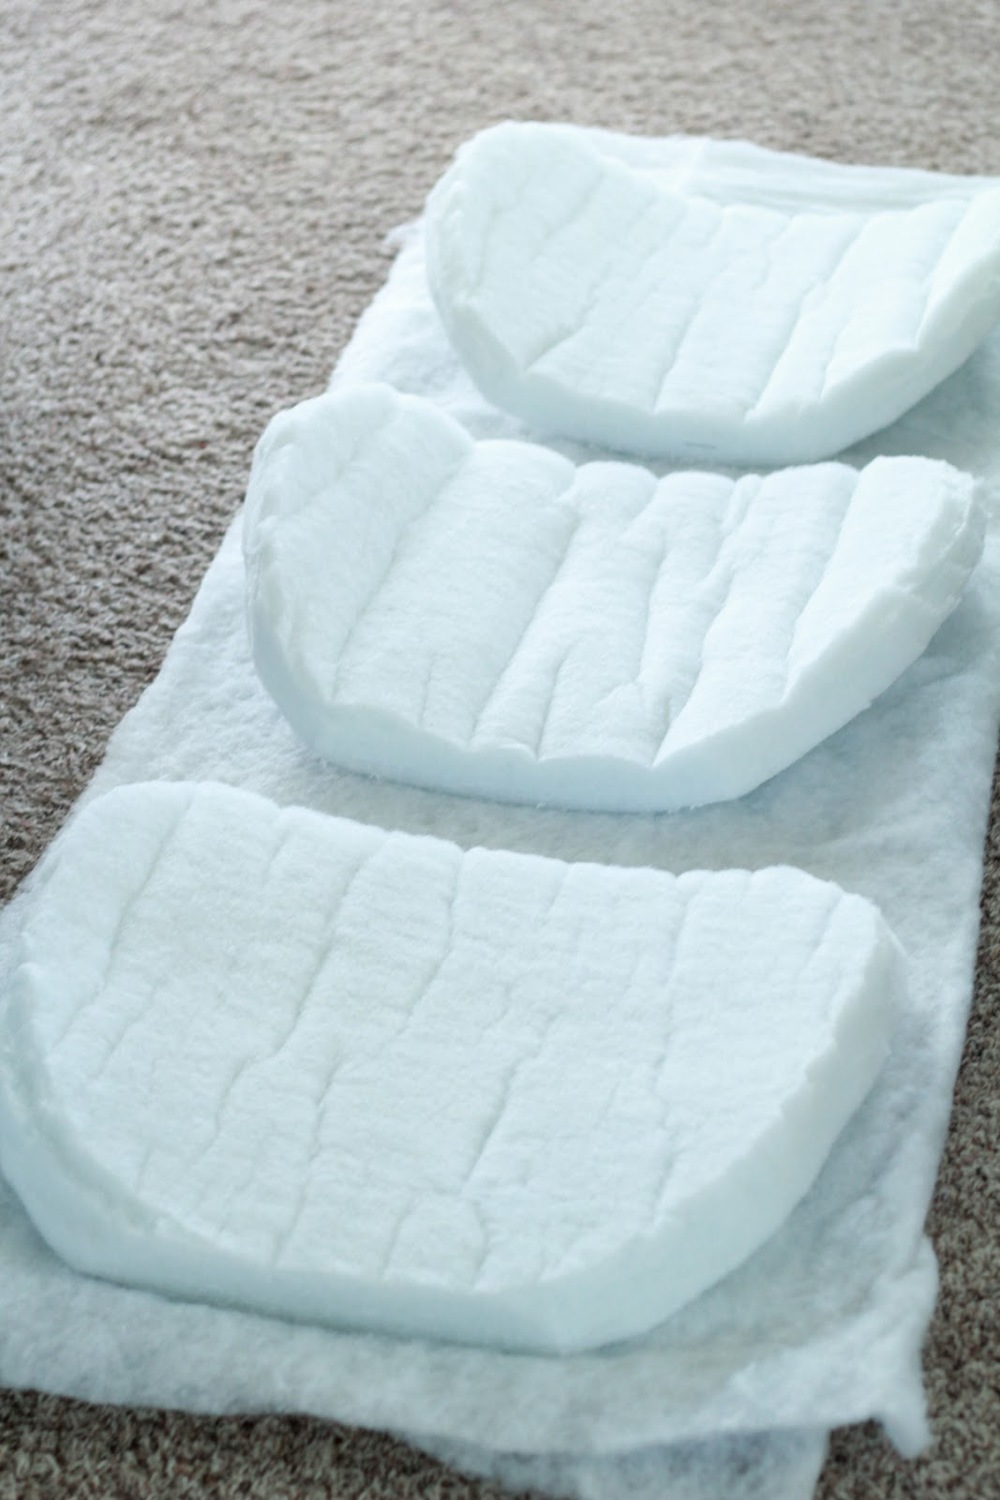
Cut the foam 1-2 inches wider than the seat so it stretches over the edge. I also shaped it by taking some off the top sides.
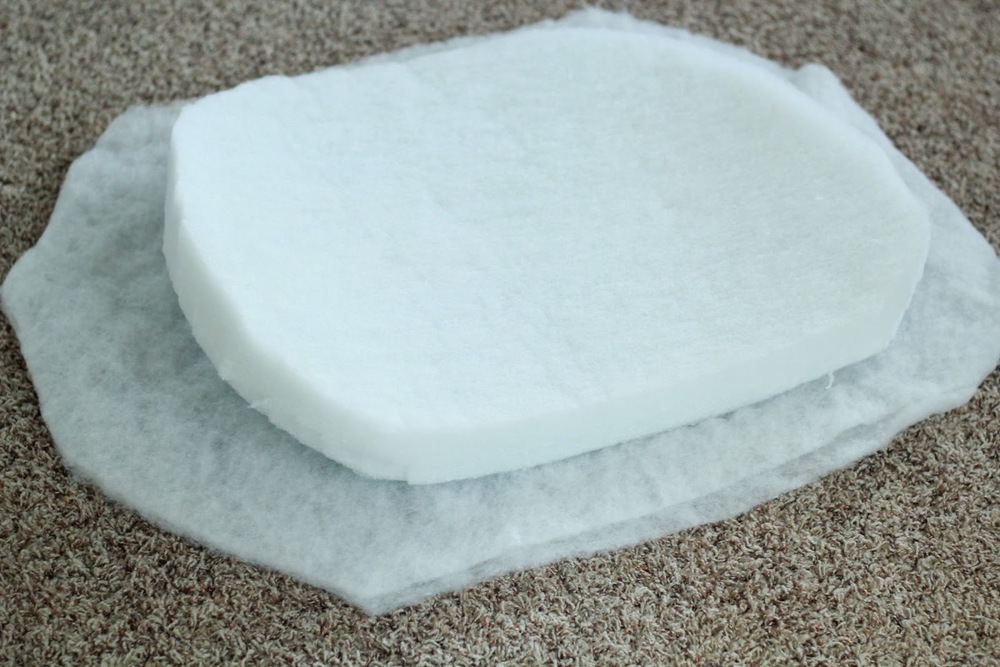
Next I cut out some quilters batting a few inches wider than the foam so I'd have plenty to pull over the sides.
My 1.5 yards of fabric turned out to be
exactly
right - scary. One inch less would have been disastrous. I didn't realize it would be such a close call but it was. No wiggle room here!

I stretched the batting over the foam first, stapling it down, and cutting off the excess.
Next came the fabric - I tried to pay attention to how it was assembled the first time, but I learned after doing one that it was best to give yourself extra on the front, then establish the back staples. then sides, and wrap up corners last.
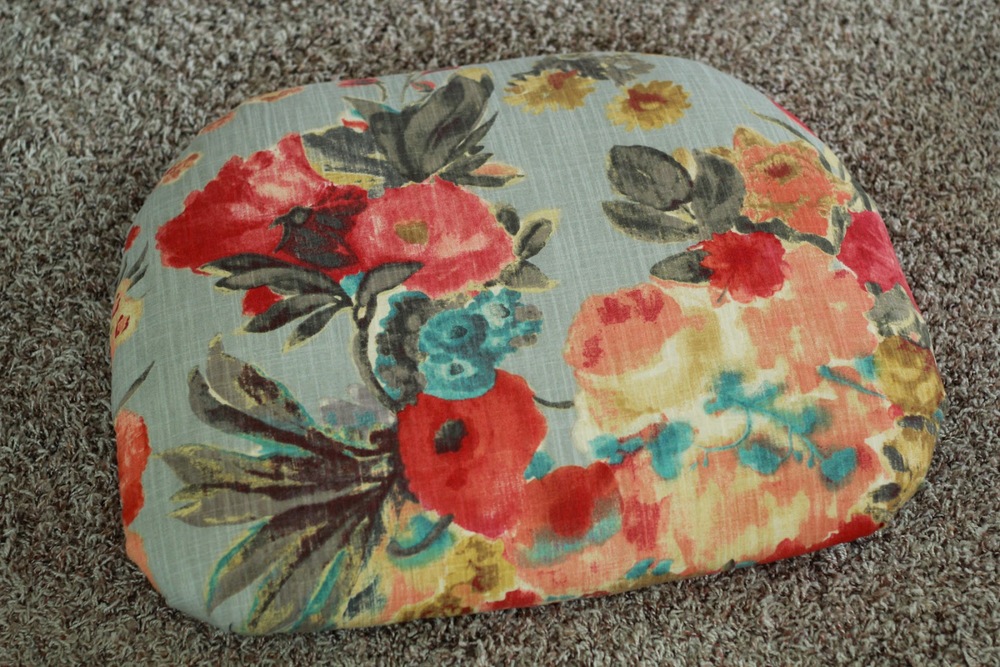
Test chair done!
Now for the rest...
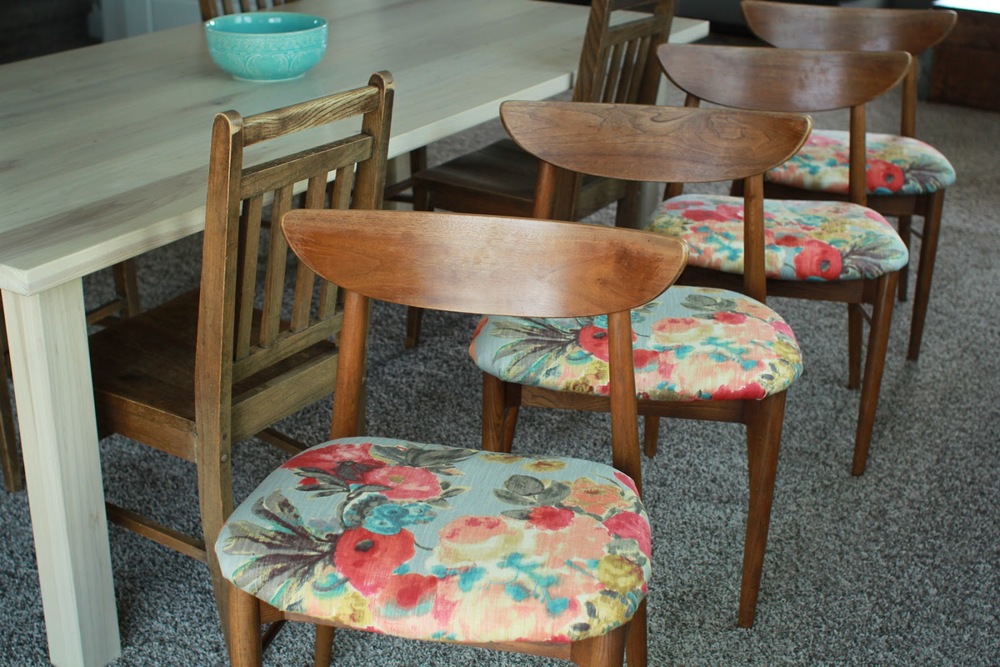
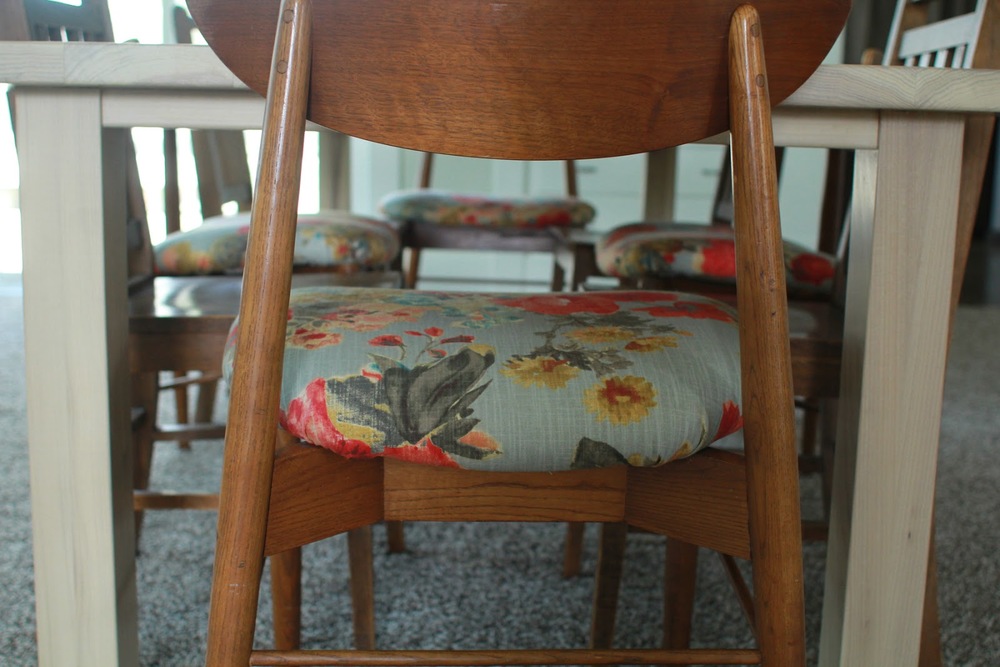
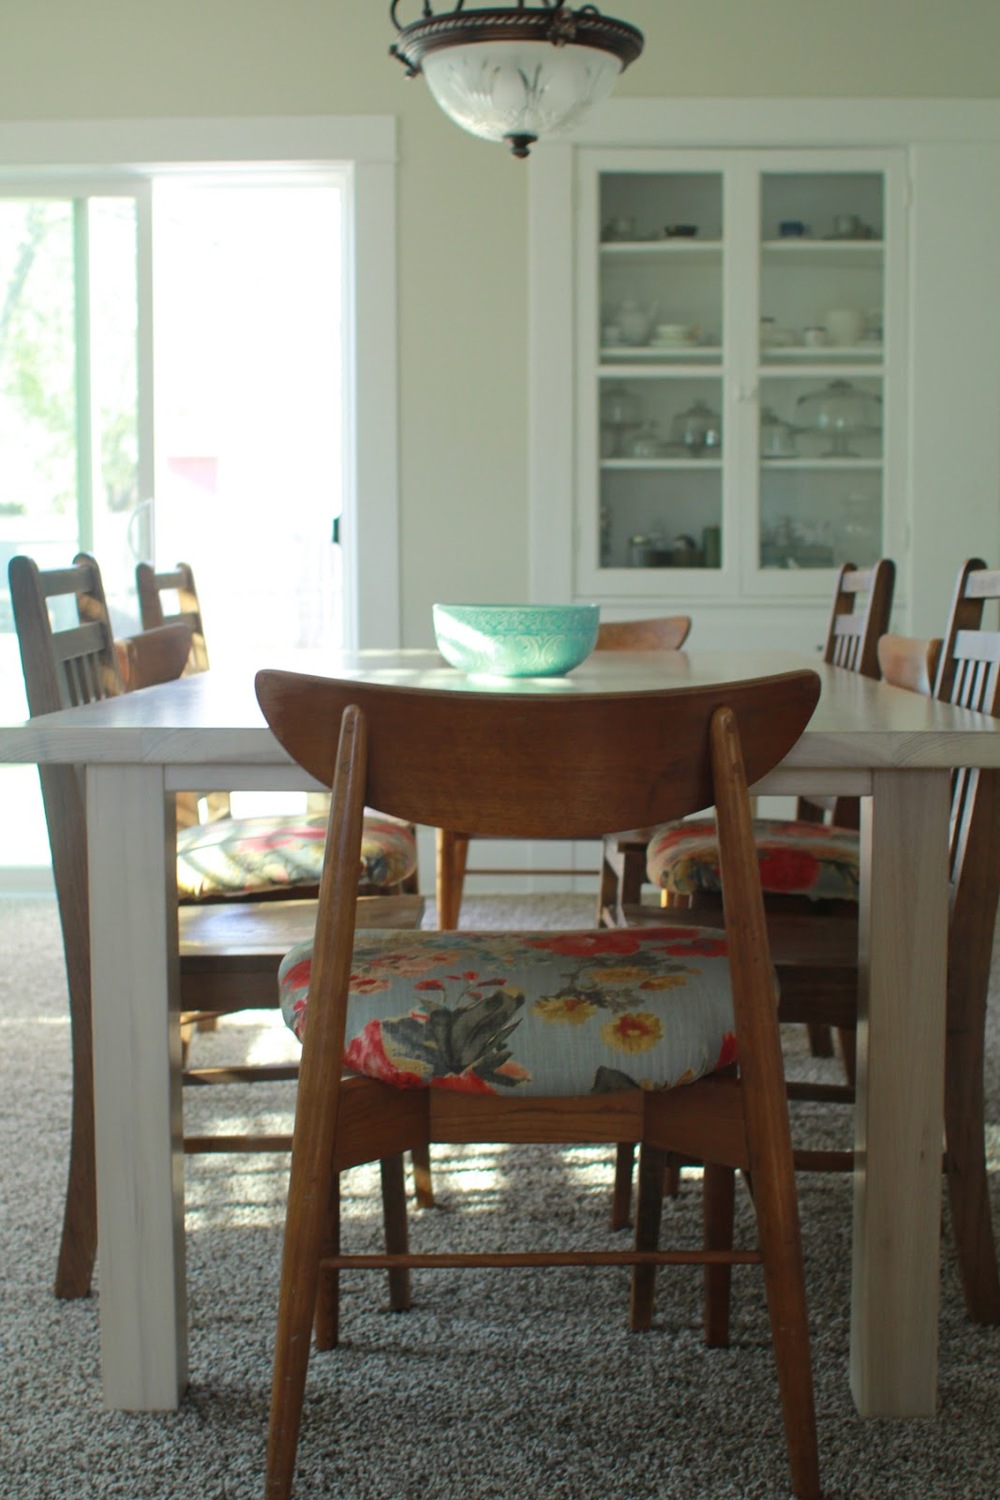
Ta-da!
So much prettier
and
cushier!
This is even less commitment than painting a room. Who knows? Maybe I'll reupholster them every year for a change! Kidding, Honey, kidding. Mostly.
Happy upholstering and buen provecho!